How high-end architecture renderings are made (Case Study)
Have you been wondering how your architectural renderings are produced?
Are you dying to know why adding a couple of trees to a finished image can take a whole day? It’s just a couple of clicks, right?
Well, not exactly. Luckily we’re here to tell you all about the process of creating visualizations with this handy case study of a project we did for one of our German clients.
Before the project
You’ve submitted plans, or better yet – a 3D model of your project and you have an idea for how many exterior and interior shots you’d like to see done.
Before we roll up our sleeves and get down to 3DS Max, it’s time to align on the vision of the project.
We schedule a call to discuss what you consider its key strengths and the preferences of the target audience of the images.
Next, we create a brief with proposed references (photos or other renderings) that will serve as a visual guide for the process.
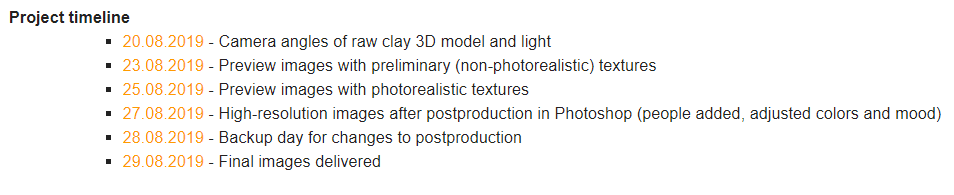
Day 1: Project timeline
Having reviewed all the input materials and aligned on the essential aspects of the work with you, we are able to share a detailed plan of the project.
Days 2-4: Building the model
We now get down to laying the foundations of our work.
We either create a whole new model based on floor plans and elevations in the .DWG format or refine the 3D building model provided by you. In this case we need to create a model of both the building and its environment by ourselves according to your inputs.
Whether it’s interiors or exteriors, we also need to find the right 3D models for those elements of the scene that may be available on the web, e.g., specific types of plants or models of furniture.
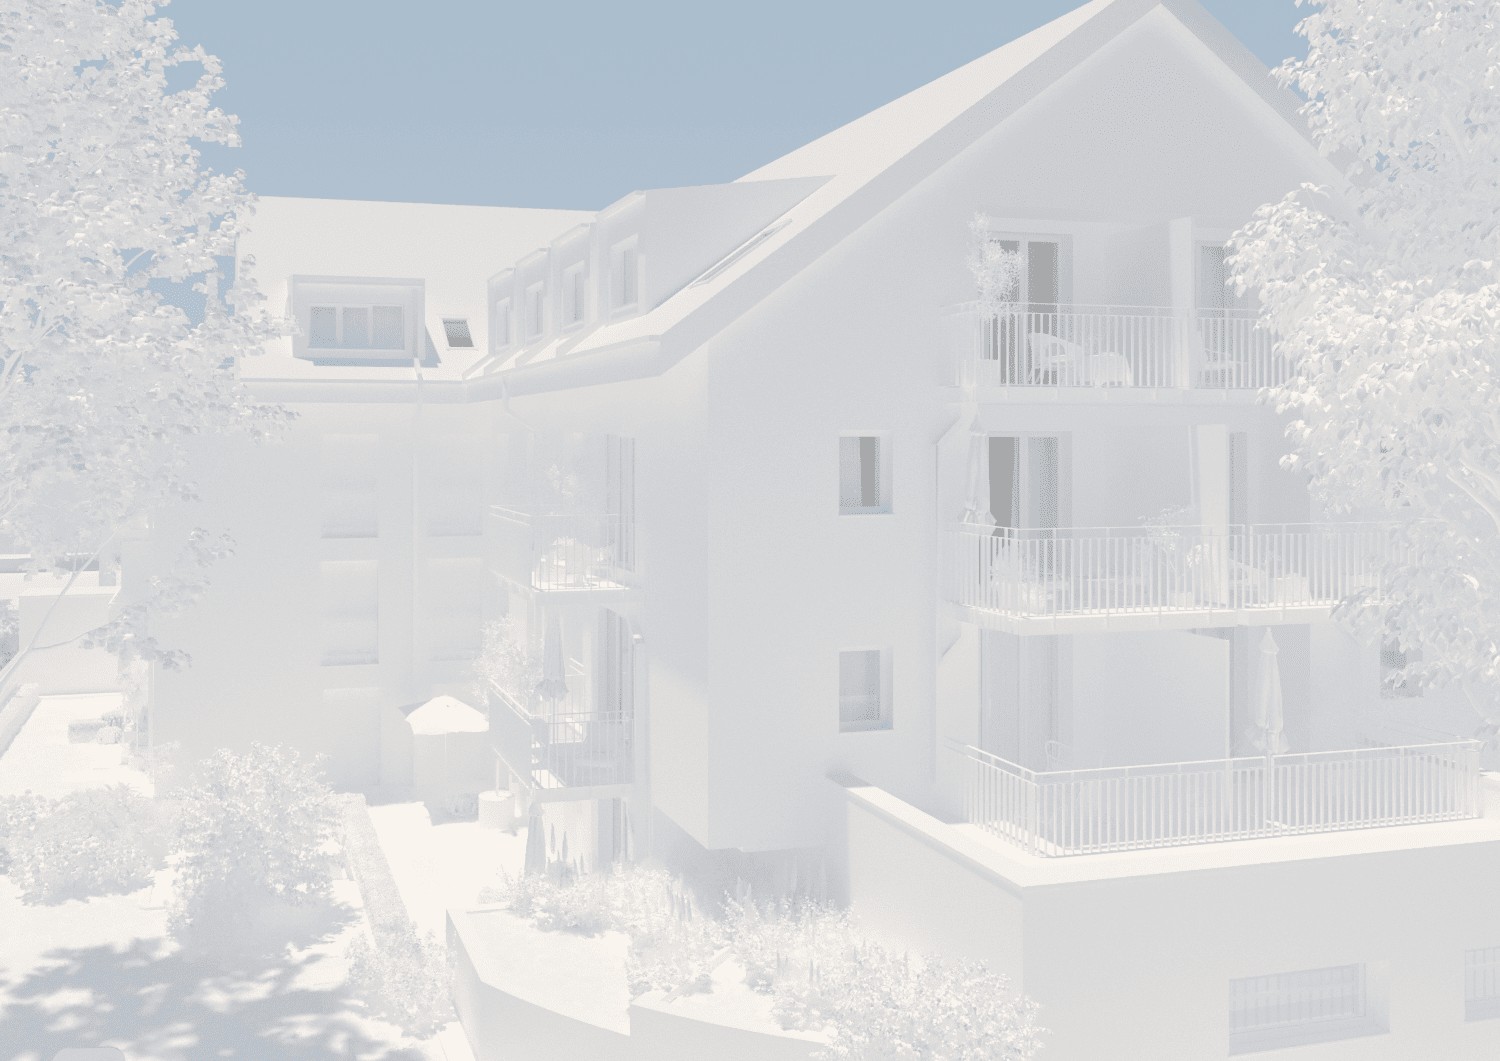
Day 5: Let there be light!
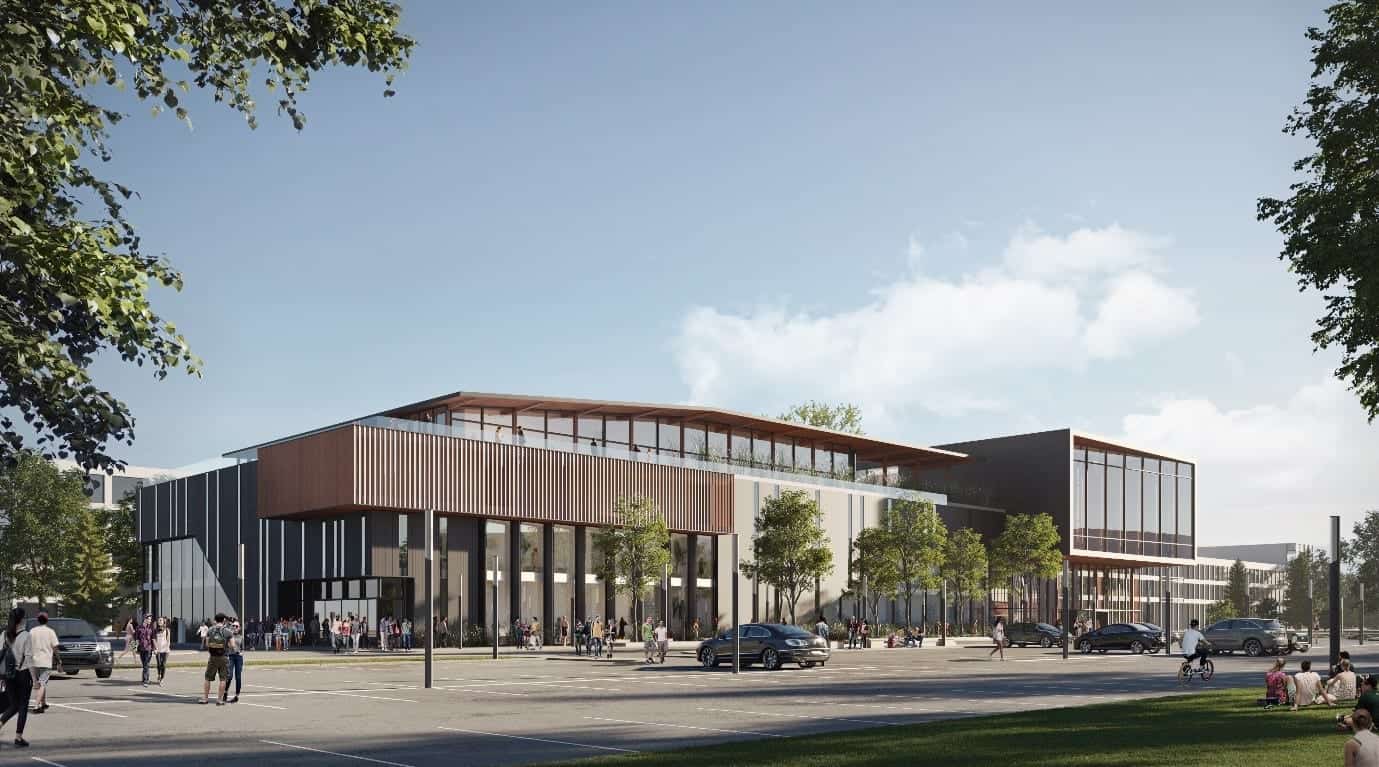
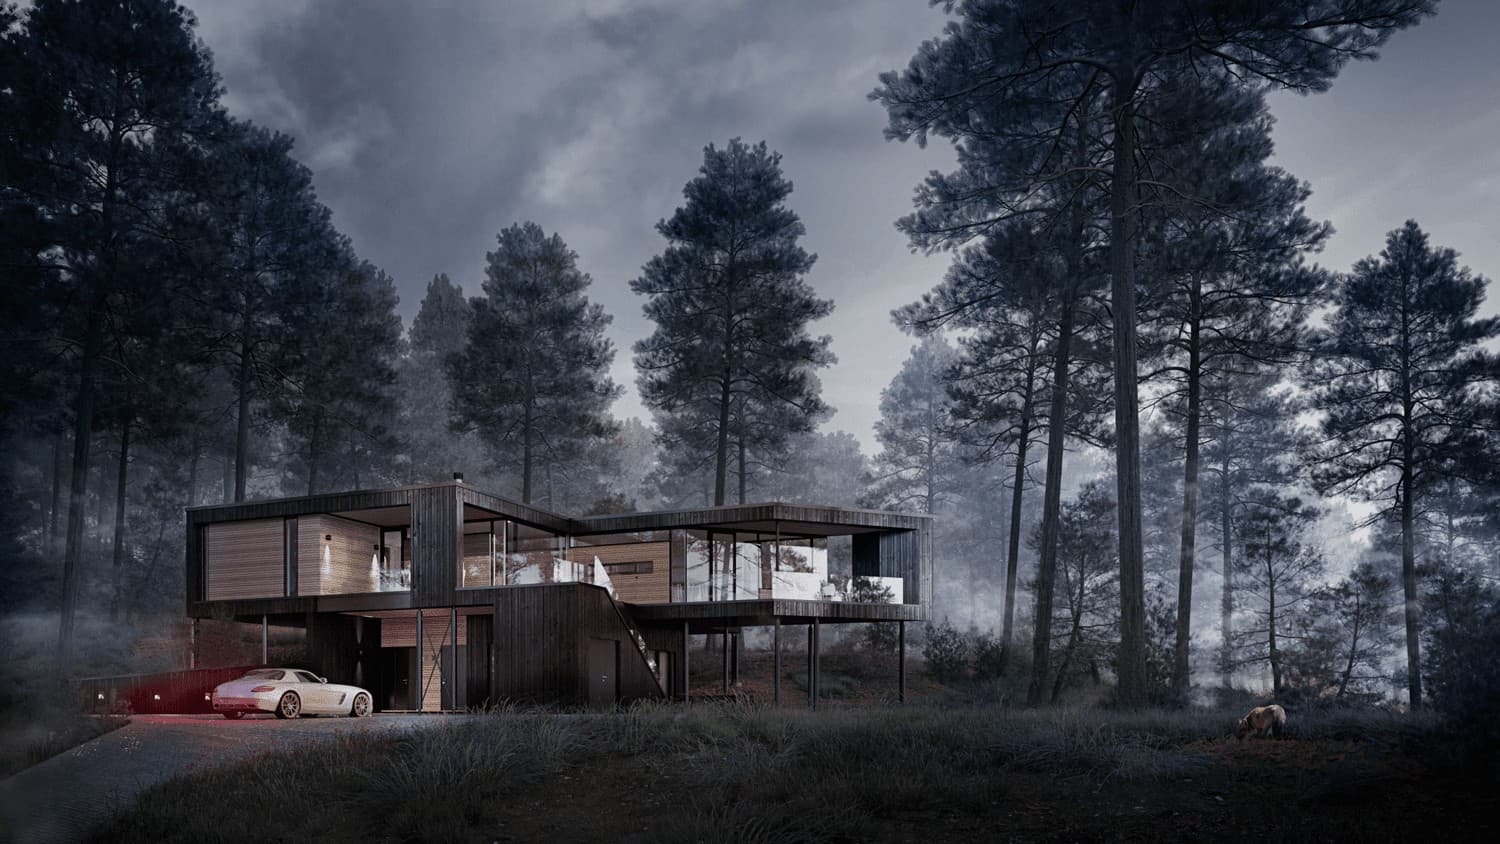
We know that these images will have a single purpose – they will be the key visual element of a new website promoting a housing project near Munich.
Knowing our audience are families looking for a pleasant, quiet environment, we opt for a bright, sunny evening for our scenes.
With a detailed model and light done, we are ready to share our first preview images. Click send!
Days 5-7: Preliminary textures
Thanks for the comments!
Being a best practice client that you are, you had time reserved to provide your comments right after receiving the previews according with the schedule.
Everything was alright with the model but you would like to have a few benches added in the garden. No worries!
Now we are ready to add first, preliminary textures in order to confirm that all materials (like bricks or wooden furnishings) are the correct type and color and placed in the right places.
The images are still ugly ducklings by now, but that’s all we need to get things signed off before the fun part begins – creating photorealistic textures. Click send on those previews!
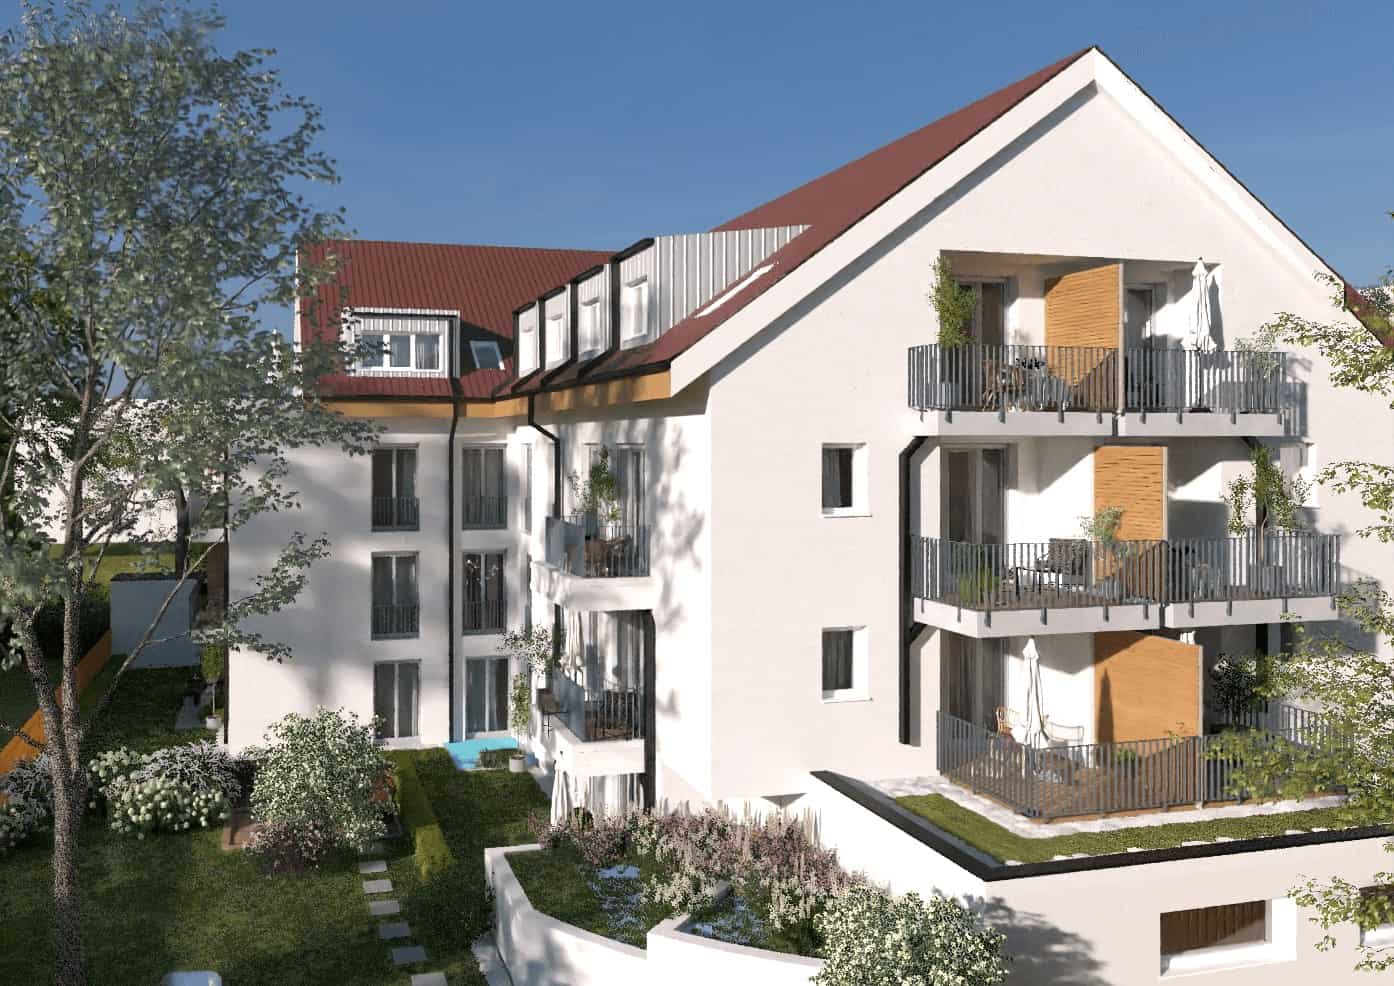
Days 7-11: Photorealistic magic!
The preliminary textures turned out to be spot on. Now it’s time for a tour de force of the 3D prowess of our team. We added more depth to your images, recreating textures from photographs in high detail. All the building materials are correct and ready to render.
Day 11: Rendering
It’s 7pm on a Wednesday and it’s time to let the machines do the work. We create a queue of images to be produced overnight and let our powerful hardware take care of the rest. By the time we get back to work tomorrow morning, there should be a batch of freshly baked visualizations waiting for us.
Days 11-12: Postproduction
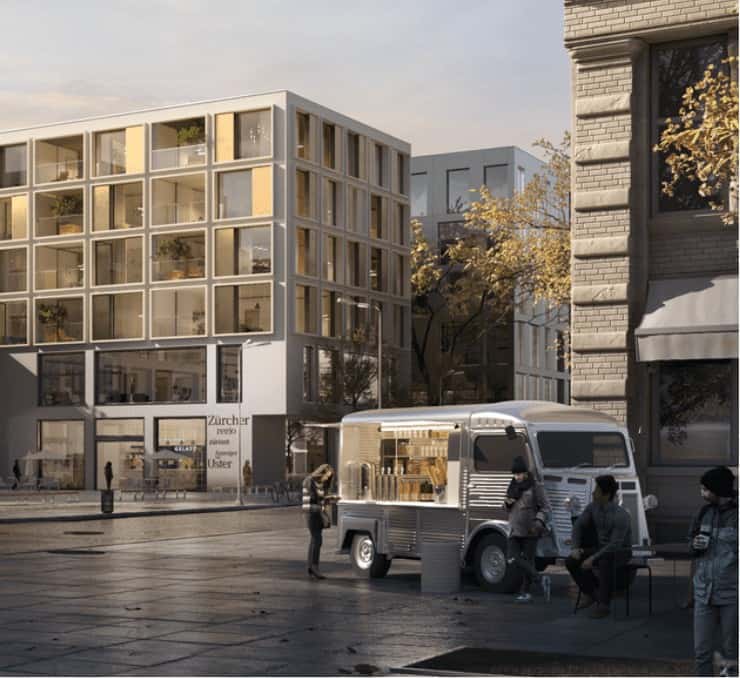
In the last phase of work another artist on our team takes over with his Photoshop magic. More clouds are added and the composition is completed by people and more trees. The images now look alive and with correct depth.
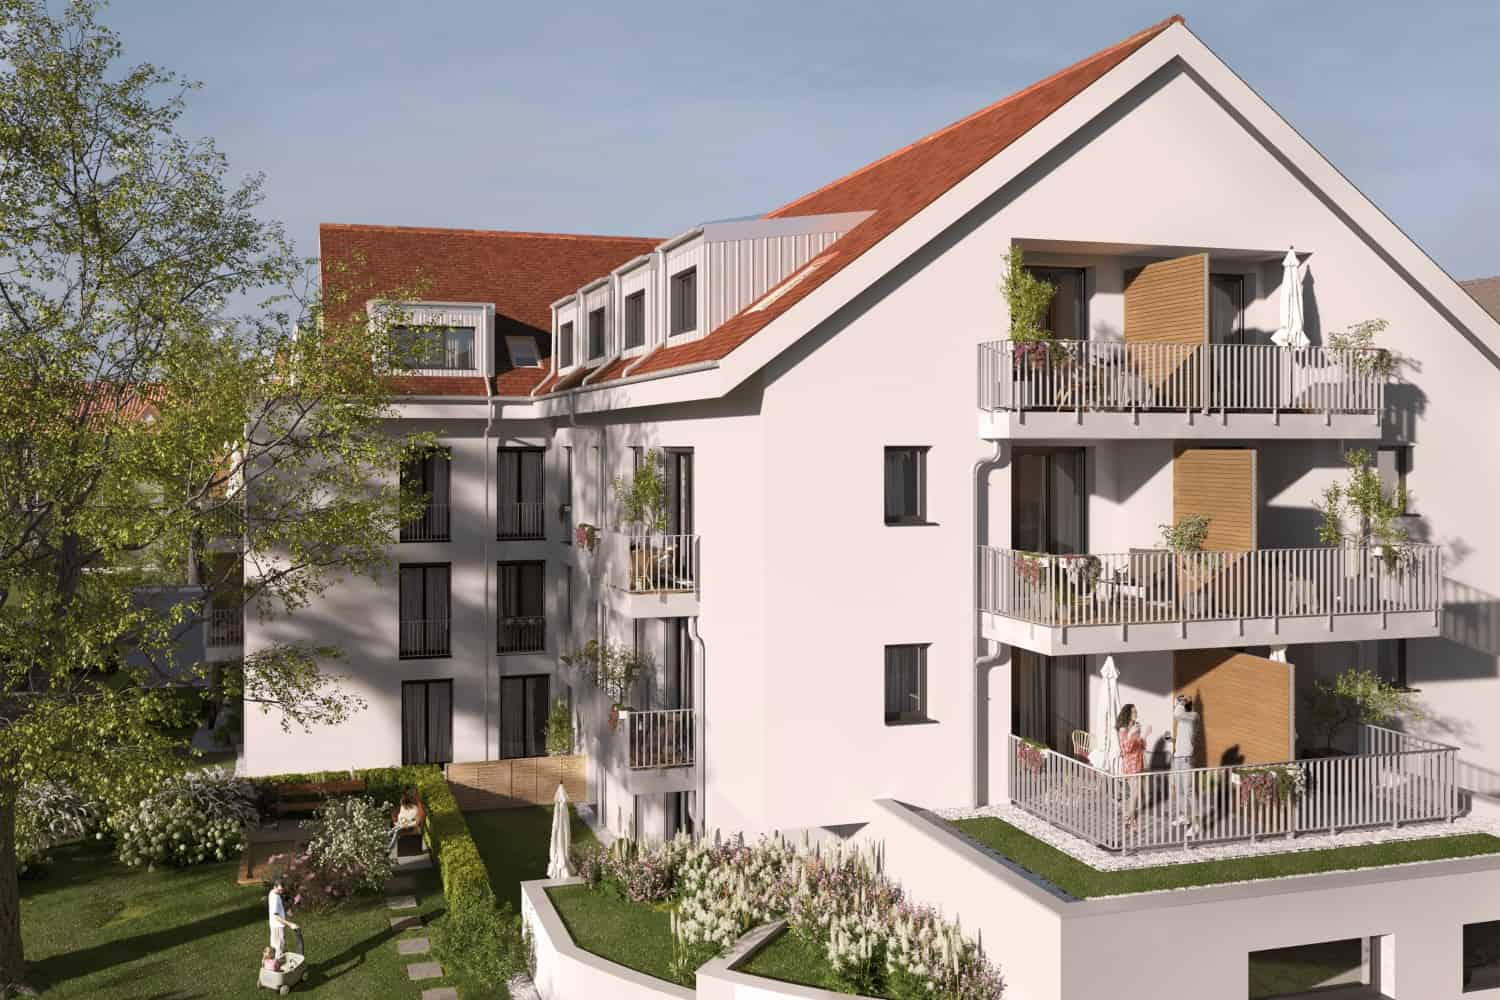
It’s been a busy and productive 12 days and we have the results that we’re proud to share with you. We load 1.2 GB of TIF, JPG and PNG files to Wetransfer and ship them to you. Till the next time!
Other articles
How to win buyers and influence sales with architecture renderings – top 6 tips
We’ve seen a number of actions and approaches that assure the best return on investment from high quality renderings. We’d love to share them with you in this post. The key observation is that the […]
How high-end architecture renderings are made (Case Study)
Have you been wondering how your architectural renderings are produced? Are you dying to know why adding a couple of trees to a finished image can take a whole day? It’s just a couple of […]
How to get best results from outsourcing architecture renderings. 6 golden rules
Architecture renderings are one of the most visibly and rapidly changing aspects of the building profession. The technology available to create CG images makes leaps every year, allowing architecture and real estate companies to present […]
Stand out from the crowd: 4 tips for making your architectural renderings unique
2019 is a fascinating time at the intersection of architecture and CGI. While many architecture companies stick to the level of imagery that was available years ago, many have adopted the high standards offered today […]